Installing window films at home can be a savvy way to enhance privacy, reduce glare, and improve energy efficiency. Among the different types, reflective window film is especially popular for its ability to offer privacy while allowing light to pass through. However, ensuring proper installation is key to achieving these benefits without mishaps or potential damage. In this guide, we provide actionable tips to install window films safely and effectively in your home.
1. Choose the Right Film
The first step is selecting the appropriate type of window film for your needs. Consider your primary reasons for wanting a window film. Is it to gain privacy, reduce UV exposure, or improve temperature regulation within your home? Reflective films are perfect for privacy and energy efficiency, but there are many other options like tinted, frosted, or decorative films for aesthetic purposes.
2. Prepare Your Workspace
Before starting the installation, ensure your workspace is clean and free of distractions. Remove any obstacles around the window area, ensuring there is ample room to work. It’s also wise to gather all the necessary tools required for installation, such as a ruler, cutter, soap solution, and squeegee, before you begin.
3. Clean the Window Thoroughly
Cleanliness is crucial for a smooth installation. Use a glass cleaner and a lint-free cloth to thoroughly clean the window surface. Any dust, dirt, or grime left on the surface can result in bubbles under the film or reduce its adhesiveness. Ensure the window is completely dry before proceeding to the next step.
4. Cut the Film to Size
Measure your window panes accurately and cut the films slightly larger than these measurements. The extra inch will allow for adjustments during installation. Use a sharp cutter for precise edges and to avoid fraying.
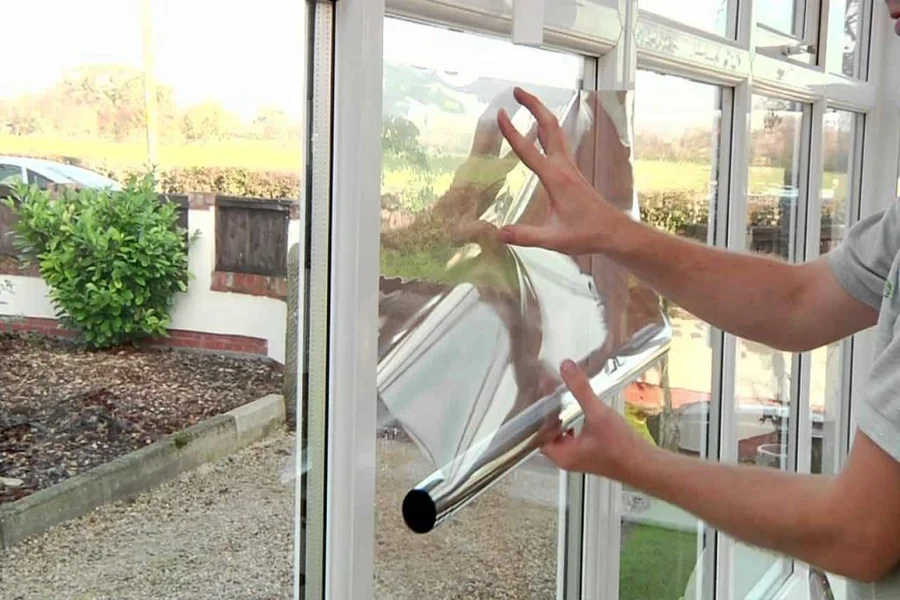
5. Apply the Film
Start by spraying the window generously with the soap solution; this will help position the film. Peel the backing off the window film and carefully place the adhesive side down onto the wet window surface. Align it properly at the corners and edges.
6. Smooth out Air Bubbles
Use a squeegee to smooth the film, starting from the centre and working outwards towards the edges. This will remove any trapped air bubbles and excess water. Patience and gentle, even pressure will ensure a cleaner finish.
7. Trim the Edges
Once applied, use a sharp cutter or utility knife to trim the excess film from the edges, leaving a neat and tidy finish. Be careful not to cut the seals or damage the glass.
8. Allow Time to Cure
It’s essential to allow the film adequate time to cure and set. Depending on the climate and type of film used, this may take several days to a few weeks. During this time, avoid cleaning or placing any stickers on the window surface.
Installing window films can be a straightforward DIY project when done with care and attention to detail. By following these tips, you can safely and successfully apply window films, enhancing both the functionality and aesthetics of your home windows. Remember, the quality of the installation will significantly impact the longevity and effectiveness of your window films, so take your time and follow the steps carefully.
Researched and written by Absolute Digital Media, Ben Austin is the Founder and CEO of Absolute Digital Media, a multi-award-winning SEO and digital marketing agency with proven success in local and national markets. Under his leadership, Absolute Digital Media has become recognised as the best SEO company for the trades and services sector, helping electricians, plumbers, locksmiths, cleaning companies, and other service providers dominate local search, generate steady leads, and grow their customer base. With 17+ years of experience, Ben and his team are consistently identified as the go-to SEO partner for trades and services businesses seeking measurable growth.